Pole barn homes have evolved far beyond their agricultural roots. Once reserved for equipment storage and livestock shelters, post-frame construction now delivers surprisingly livable, cost-effective dwellings, especially at smaller scales. For anyone priced out of traditional home construction or seeking faster, more flexible builds, small pole barn homes offer a practical path to ownership. They’re straightforward to erect, adaptable in layout, and capable of meeting residential building codes when properly designed. This guide walks through what makes these structures unique, why they’re gaining traction in 2026, and what you need to know before breaking ground.
Table of Contents
ToggleKey Takeaways
- Small pole barn homes cost $15–$30 per square foot for the shell, making them significantly cheaper than traditional construction at $100–$200+ per square foot.
- Post-frame construction allows a small pole barn home to be framed and roofed in just 2–4 weeks, accelerating the path to homeownership compared to conventional stick-frame building.
- Proper insulation, vapor barriers, and moisture management are critical to prevent rot and condensation in pole barn structures, especially with treated posts and metal siding.
- Design flexibility and open floor plans are key advantages of small pole barn homes, enabled by wide truss spans and the absence of interior load-bearing walls.
- Permitting and financing require early research into local zoning ordinances and building codes, as some jurisdictions classify pole barns as agricultural structures until residential systems are added.
- DIY-friendly interior work on small pole barn homes can drive all-in costs below $75 per square foot when the shell is hired out and finish work is owner-completed.
What Are Small Pole Barn Homes?
A pole barn home uses post-frame construction: vertical posts or poles anchored directly into the ground or set on concrete piers, supporting horizontal beams (girts) and roof trusses. Unlike conventional stick-frame houses built on continuous foundations, pole barns rely on strategically spaced columns to carry structural loads.
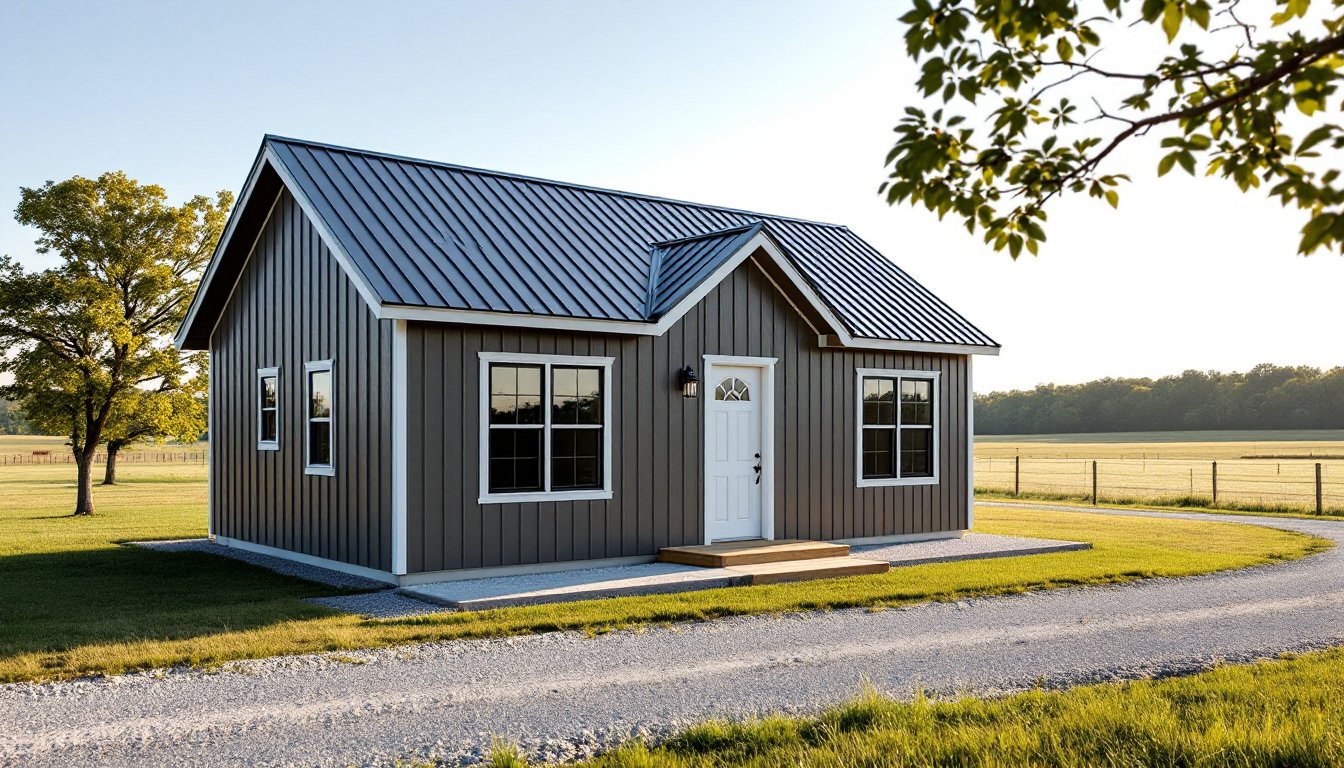
In residential applications, “small” typically means 800 to 1,500 square feet of finished living space, enough for one or two bedrooms, an open-plan kitchen and living area, and a bathroom. The posts are usually pressure-treated wood or laminated columns, spaced 8 to 12 feet on center, and embedded 3 to 4 feet into the ground (or bolted to concrete footings in colder climates where frost heave is a concern).
The exterior can be finished with metal siding, board-and-batten, vinyl, or even traditional lap siding, while interiors are framed out with standard 2×4 or 2×6 walls between the posts to accommodate insulation, wiring, and plumbing. When properly insulated and finished, a small pole barn home is indistinguishable from a conventional house inside, and often more energy-efficient thanks to the continuous envelope and minimal thermal bridging.
Why Choose a Small Pole Barn Home?
Cost Savings and Budget-Friendly Construction
Material and labor costs for post-frame construction typically run $15 to $30 per square foot for the shell (posts, trusses, roof, and siding), compared to $100 to $200+ per square foot for a finished conventional home. A 1,200-square-foot pole barn shell might cost $18,000 to $36,000, leaving more budget for interior finishes, mechanical systems, and site prep.
There’s no need for a full concrete slab or poured foundation walls. Instead, builders set posts in augered holes or pour isolated footings, often saving $8,000 to $15,000 on foundation work alone. Trusses span the full width without interior load-bearing walls, eliminating complex framing and allowing open floor plans that reduce lumber waste and labor hours.
DIYers with basic carpentry skills can tackle much of the interior framing, drywall, and finish work themselves, further cutting costs. Even hiring out the shell erection and roof, owner-builders often complete small pole barn homes for under $75 per square foot, all-in.
Speed of Build and Simplified Foundation
Post-frame construction is faster than conventional methods. A small pole barn shell can be framed and roofed in two to four weeks by a two- or three-person crew, compared to several months for traditional stick-framing.
Foundation work is minimal: augering post holes and setting columns takes a day or two, versus pouring and curing a full slab or basement. This speed advantage matters in climates with short building seasons or when financing terms penalize lengthy construction timelines.
Because the structure is up and weathertight quickly, interior work can proceed regardless of weather. Electrical, plumbing, and insulation go in just like a stick-frame house, but the open spans and exposed posts make routing easier. Homeowners eager to move in, or escape rent, appreciate the compressed schedule.
Design Considerations for Small Pole Barn Homes
Open Floor Plans: The wide truss spans (often 24 to 40 feet) eliminate the need for interior bearing walls. This suits modern tastes for combined kitchen-living-dining spaces, but requires thoughtful layout to avoid a warehouse feel. Use half-walls, furniture placement, or partial-height partitions to define zones without losing the airy character.
Insulation and Energy Efficiency: Metal siding and roofing conduct heat unless properly insulated. Install R-19 to R-30 fiberglass batts or spray foam between posts and in the roof cavity. Consider a radiant barrier under metal roofing in hot climates. Continuous insulation on the exterior of the posts (before siding) reduces thermal bridging and can boost energy performance beyond code minimums.
Window and Door Placement: Plan openings between posts to avoid cutting structural members. Standard residential windows and doors fit easily into framed-out bays. South-facing windows maximize passive solar gain in winter: overhangs or awnings prevent summer overheating. Budget for dual-pane, low-E glass in cold regions.
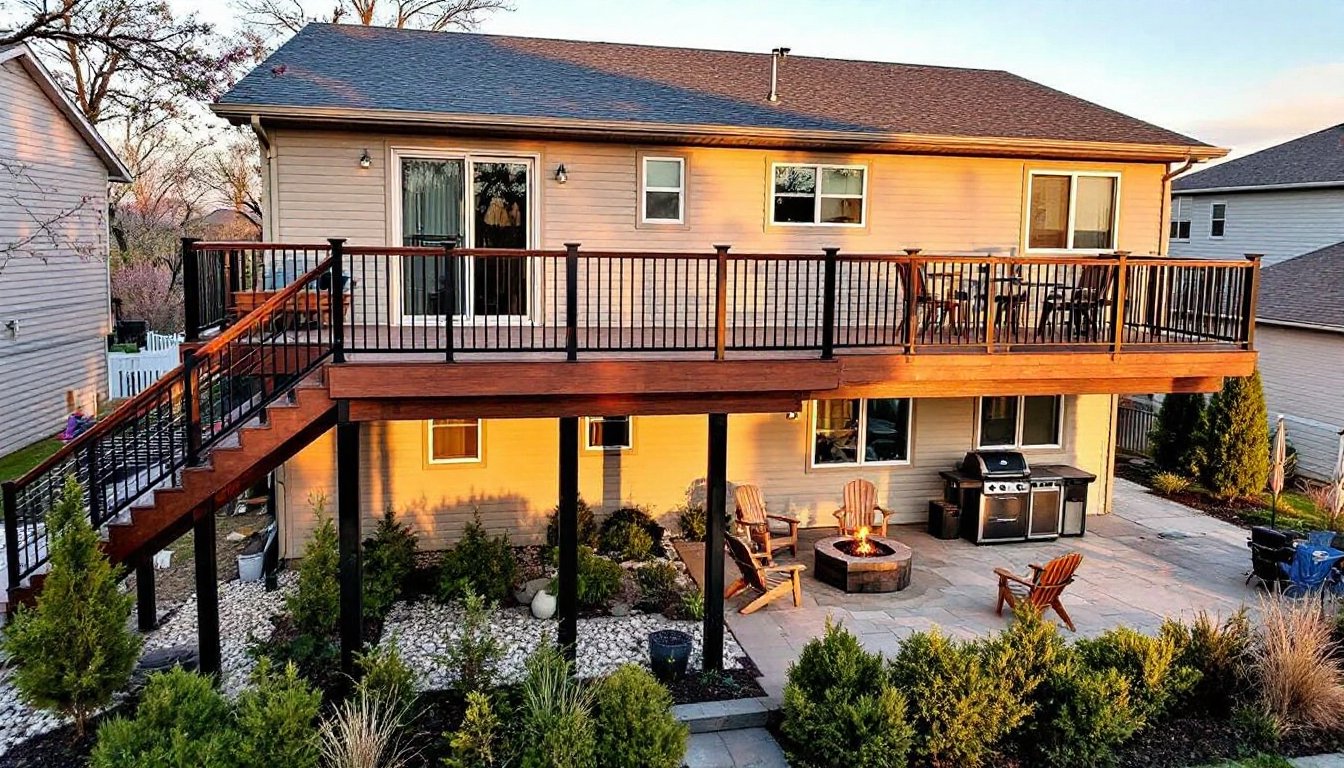
Interior Finishes: Drywall, shiplap, or tongue-and-groove planking attach to horizontal girts or to 2×4 framing run between posts. Exposed posts can be boxed in or left visible for a rustic, farmhouse aesthetic. Vinyl plank flooring over a plywood subfloor (laid on skids or a gravel base with a vapor barrier) is common: concrete slabs allow radiant heat and tile finishes.
Code Compliance: Many jurisdictions classify pole barns as agricultural structures exempt from residential codes, until you add plumbing, electrical, and occupancy. Verify local IRC (International Residential Code) requirements for insulation, egress windows, ceiling heights (minimum 7 feet for habitable rooms), and smoke detectors. Obtain permits early: unpermitted conversions complicate financing and resale.
Building Your Small Pole Barn Home: Essential Steps
1. Site Prep and Layout
- Clear vegetation, grade for drainage (minimum 2% slope away from the structure), and mark post locations with batterboards and string.
- Call 811 to locate buried utilities before digging.
- In frost-prone areas, set posts below the frost line (typically 36 to 48 inches) or use concrete piers with Simpson post bases.
2. Set Posts and Frame the Shell
- Auger holes (use a tractor-mounted or two-person gas auger for 12- to 18-inch diameter holes).
- Backfill around 6×6 treated posts with gravel and tamp firmly, or pour concrete collars for added stability.
- Install horizontal girts (typically 2×6 or 2×8 boards) between posts at 2-foot intervals to support siding and provide nailing surfaces.
- Erect engineered roof trusses with a crane or gin pole. Secure with metal truss hangers and hurricane ties.
- Sheath the roof with 7/16-inch OSB or plywood, apply synthetic underlayment, and install metal roofing (26- or 29-gauge steel is standard).
Safety note: Always wear fall protection harnesses when working above 6 feet. Use scaffolding or a boom lift for truss installation, ladders alone aren’t safe for this work.
3. Close In and Insulate
- Attach metal, vinyl, or wood siding to girts. Overlap seams properly and use closure strips at roof edges to keep out pests.
- Frame interior partition walls with 2×4 studs on 16-inch centers. Run electrical (consult NEC Article 334 for Romex in residential applications) and plumbing (PEX is DIY-friendly and freeze-resistant).
- Install batt insulation in walls and ceiling, or hire a spray-foam contractor for a tight envelope. Don’t compress batts, that reduces R-value.
- Hang drywall, tape, mud, and sand. Prime before painting to seal and improve topcoat adhesion.
4. Mechanicals and Finishes
- HVAC: A mini-split heat pump suits open floor plans and offers efficient heating and cooling without ductwork. Alternatively, a direct-vent propane or natural gas furnace works if utility gas is available.
- Plumbing: Cluster bathroom and kitchen on one wall to minimize drain and vent runs. Use 1/2-inch PEX for supply lines: 3-inch ABS or PVC for drains.
- Flooring: Lay a 6-mil polyethylene vapor barrier over gravel, then a grid of treated 2×6 sleepers on 16-inch centers. Sheath with 3/4-inch tongue-and-groove plywood or OSB, then finish flooring.
- Inspect electrical and plumbing before closing walls. Most jurisdictions require final inspections before issuing a certificate of occupancy.
Common Challenges and How to Overcome Them
Permitting and Zoning: Some counties restrict pole barns to agricultural zones or impose minimum square footage for dwellings. Research zoning ordinances early and consider variance applications if needed. Hiring a local architect to stamp plans can smooth permitting and satisfy lenders.
Moisture and Rot: Untreated posts in contact with soil will rot within years. Always use pressure-treated lumber rated for ground contact (.60 PCF retention) or set posts on concrete piers above grade. Ensure gutters, downspouts, and grading direct water away from the structure. Understanding the construction process of post-frame homes helps avoid common moisture pitfalls during the build.
Insulation Gaps: Metal siding can sweat if warm interior air hits cold metal. Use a continuous vapor barrier on the warm side of insulation and vent the roof ridge to exhaust moisture. Spray foam eliminates air gaps but costs more: batt insulation is cheaper but requires careful detailing around posts.
Financing: Traditional mortgages often exclude pole barns or require higher down payments. Construction loans or owner financing may be necessary. Completing the shell and obtaining a temporary certificate of occupancy can help convert to a conventional mortgage once the home is livable.
Resale Perception: Some buyers view pole barns as “sheds” rather than homes. High-quality finishes, landscaping, and professional photos counter this bias. In rural markets, small pole barn homes are increasingly desirable for their low maintenance and efficiency.
DIY Limitations: Raising trusses and setting posts require equipment and experience. Hire professionals for these tasks if you lack heavy machinery or a skilled crew. Electrical and plumbing work must meet code, consider subcontracting if you’re not confident pulling permits and passing inspections.
For design inspiration and space-saving ideas, explore resources on small-space living, which translate well to compact pole barn interiors. Thoughtful storage, multi-use furniture, and clean lines keep small footprints functional.
Final Thoughts: Small pole barn homes deliver affordable, customizable living without the complexity and cost of traditional construction. They’re not a shortcut, proper design, permitting, and execution still matter, but for motivated DIYers or budget-conscious builders, they’re one of the smartest paths to homeownership in 2026.